Wednesday, March 26, 2025

Inspirational Bookmarks - Lily Border by Lynn Dionne

Happy Wednesday Ai Fans!!!

Watch video tutorial!!!

Today we will be creating a few simple, yet inspirational bookmarks! These would be perfect for your Easter Bible Journaling, or a friend, teacher, or avid reader!

Let's begin by stamping the pretty floral border from the Ai Lily Border Set (5374) and coloring the images using the Zig Clean Color Real Brush Pens in the following colors: Blender, Haze Blue, Mid Green, Moss Green.

This stamp set includes the center of the flower, and we will stamp the centers using the Tim Holtz Spiced Marmalade Dye Ink. This little stamp is so easy to use and adds so much more interest to the flowers!

Next, we will die-cut the images using this stitched label die from the Ai Decorative Journal Page 1 Dies (5768) Set. Once this is die-cut, we will add some ink around the edges using the Tim Holtz Tumbled Glass Distress Oxide Ink.

Now we will die-cut the bookmarks using the Ai Bookmarks Die Set (5223) from the brand-new 6"x6" paper packs in Basic Teal and Basic Yellow. If you lay this bookmark die on a little bit of an angle it will fit perfectly on this smaller paper. We will also die-cut the reinforcers and butterflies from this same set.

Before we assemble the bookmarks, let's stamp a few inspirational sentiments on each of the bookmarks using the Ai Little Things Sentiment Set (5797). This set has so many wonderful sentiments to choose from that it will be hard to decide!

To assemble the bookmarks, let's add the florals, reinforcers, butterflies, and add some pretty hemp twine in white!

For a finishing touch, we can add a bit of sparkle, without adding any bulk by using the Wink of Stella Clear Glitter Pen on the center of the flowers!

Thank you so much for joining me today!  Have a fun and crafty day!!!

Ai Lily Border Set (5374)

Ai Little Things Sentiment Set (5797)

Ai Bookmark Dies (5223)

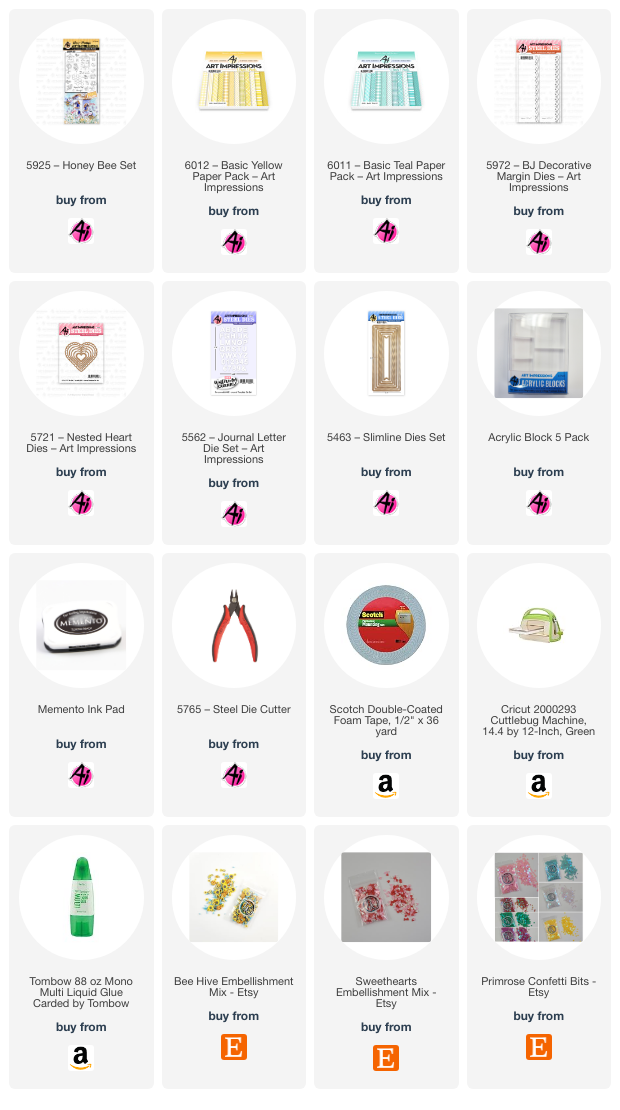
Ai Basic Yellow Paper Pack (6012)

Ai Basic Teal Paper Pack (6011)

Ai Decorative Journal Page 1 Dies (5768)

Ai WC Travel Box (4924)

Steel Die Cutters (5765)

Monday, March 24, 2025

Happy Easter from Sara Furr!

 Hello Ai fans!

Sharon needed a day off so I'm sharing
a lovely little Easter card from Guest Designer Sara Furr today.

She used 5274 – Easter Bunnies Set to create her adorable layered card.


She finished the inside with a sentiment from the set.


Art Impressions has an abundance of beautiful and cute religious and fun Easter sets.
You're sure to find something perfect for the card or scrapbook page that you want to create.

Be sure to check out Kim's new ONLINE Easter Story *Slim Journal* Class with Kim!
This class kit is limited and once it sells out, it's gone forever.


I hope you all had a wonderful weekend!
Be sure to #artimpressions when you share your art. 
We love to see what you're creating!


Sunday, March 23, 2025

Chicken Coop and Spring Florals by Jami Steiger


__________________________


Happy watercolor weekend! I love pastel spring colors, and I had so much fun making my cards this month.

 I applied the same method to each card. I started by stamping with Tombow markers 565 and 969. Then, I stamped off once onto a scrap piece of watercolor paper and painted all four cards using the same markers. For the chicken coop, I stamped various items from the set onto watercolor paper and painted them with markers. After everything was painted, I die-cut the pieces. I used the polka dot paper from 6009, Basic Green paper pack, for the grass. I utilized various dies from my collection to add details to the card. Once all the die cuts were glued down or popped up, I added some tiny rhinestones to the flowers. This stamp set is so cute, and I adore the tiny chicks!

Tombow markers used for all of the cards are as follows:
969, 992, 565, 025, 623, 723, 195, 817, 401, 491, 177, and 636


_____________________


For my next three cards, I used the 5918 Floral Long Stem Bouquet Set. 

The first step I took was to create masks for each of the stamps so I could position them where I wanted without the flowers overlapping. Next, I determined how far apart I wanted the flowers and used masking tape to cover the line indicating where I wanted the flowers to stop. I stamped each flower bouquet and painted them. After painting and removing the masking tape, I cut scraps of paper from the teal paper pack and glued them down. I cut a strip of black cardstock approximately 1/4 inch wide and placed that over the gingham paper. Each card features a unique detail. For the "Love you, friend" card, I created a shadow around the flowers on the right side using a pale blue marker and added white dots with Dr. Ph Martin's Bleed Proof White. For "sending hugs," I added a shadow around all of the flowers using marker 969. Finally, for "happy little moments," I splattered the card with a green marker after covering the flowers with the masks I had made earlier and glued tiny rhinestones onto some of the flowers.


Thank you all for spending your time with me. I hope you enjoy the rest of your day! If you have any questions, please feel free to ask.


Saturday, March 22, 2025

Pet Shop Matchbook Card by Janet


I'm back this week with another new Matchbook card. It's called 6016 - MB Pet Shop. And this one sure doesn't disappoint! The details of all the little critters and birds are pretty incredible. Mice, dogs, cats, fish, birds, bunnies, and even a gerbil make this card so very cute for any animal lover. It even includes reptiles with a cheerful turtle and frog. I'm glad there's no snakes but if there were, I'm sure somehow it would drawn in the most cute way.

This card is made using the base card set used for all MB image sets. It's 5317 - MB Template dies. I used heart patterned paper from 5741 - Valentines Paper Pack. I used a coordinating heart paper from the pack to cut out an envelope using 5318 - MB Envelope Dies. I decorated the envelope with a bow cut from a die in the set to decorate my envelop too. I folded the envelope following the score lines that the die pushes into the paper and decorated it with a paper bow and red pearl heart.

Making a MB card is easy. I started by stamping the images from this set on alcohol ink friendly paper. I colored using my Copics and then used the dies to cut the pieces out. The dies score fold lines in the pieces so they can be easily folded and glued into the card base. Once done, you simply fold the card base together, making sure to tuck in the stamped images. Then you can insert it into the envelope and it's ready to give away! The MB series creates so many wonderfully whimsical scenes. You are sure to find a theme that will delight anyone in your life. Best of all, no matter their age, they will find delight in them.

Thanks so much for joining me here today and I hope you enjoyed seeing my matchbook card. As always, please visit the Ai Store for the products I used and all the things for your card, journal, and tag making projects. Happy Creating!

Janet YouTube - Blog - Facebook - Instagram - Pinterest 

Friday, March 21, 2025

Shake, Hop, and Celebrate! Card by Tasha

 Happy Friday Art Impressions Friends!

Sharing a new Easter card inspired by the current "I like to Move it, Move it!" Challenge. Easter will be here before we know it and Art Impressions has so many cute stamp sets for Easter cards and projects. I used the fun 5504-Happy Spring Set to create a shaker card and love this little bunny and chick!

To begin, I stamped the animals with black ink and colored them with Copic Markers. I also used the included die set to cut the images out making it super easy to layer on my project. This little chick with the Easter egg is adorable and the bunny looks so cheerful!

For the background, I used a clear shaker pocket and filled it with Spring themed shaker bits on top of an ombre blue paper. I also attached a green grass die cut to the ground and attached several enamel flowers to continue with the Spring theme.

For the greeting, I stamped "Happy Easter" with black ink on to bright white paper.  To add extra color, I attached a layer of teal paper; I love the pop of color behind the sentiment!

Lastly, I attached layers of gold, white, and deep pink card stock and purple glitter paper for sparkle. This card is bright, happy, and perfect to send to someone special this Spring/Easter! 

Thank you for checking out my card and I hope you will join in the "I like to Move it, Move it!" Challenge!


Thursday, March 20, 2025

I Like to Move it, Move it!" Challenge #399 Week #2

 Hello Ai fans and welcome to week #2 of our

I Like to Move It, Move It! challenge!

We want to see your projects that have movement on them.

These can be sliders, shakers, wobbles, swiper cards, pop up cards etc. You name it! If something on your project moves, then it qualifies.

Last week, Dori was our featured artist. You can find all of the details about her card on her BLOG POST and be sure to watch the quick video clip of how her card moves!


Janet created this darling slider card using 5870 – Peeking Bunny Set.


I created two bee themed shaker cards.


Lynn has a fabulous get well shaker card. Visit her
BLOG POST to hear all about it and view her video tutorial.


Last but not least, Tasha created an adorable shaker as well.
 5504 – Happy Spring Set
We hope we've inspired you to "get moving" and create something for our challenge. You just may win a free stamp set!

✻ Please make a new card or handmade crafty creation. You can make any item you wish; this is not limited to cards! (unless specified)

✻ Limit two submissions per person. You will receive extra votes if you use Art Impressions stamps!
 ✻Please include your first name and last initial on your submission.
✻We love to comment on your entries, but keep in mind if you use a private group or a platform that you need to sign up for, we probably won't be able to.
✻ The Ai Challenge is open to everyone, international submissions are welcome!
✻ Include a link back to the Ai Blog or grab our button on the top right of our sidebar!
✻ Share the Ai love if you can, by clicking and commenting on your fellow crafters.
✻ Make sure to get your link up by the deadline to enter your creations.
✻ Good luck and happy stamping! 

You are invited to the Inlinkz link party!

Crazy Garden Lady by Dori Mendiola

 Happy Thursday AI Friends!

Today I have a fun birthday card featuring the #5000 Gotta Garden set.  A friend of mine loves to garden so this image was just perfect for her birthday card.  I definitely would not call her crazy but she is crazy about gardening.  LOL!

I stamped the image on copic friendly paper with Memento black ink and colored her with my copic markers listed below.  I just love the expressions on all of Bonnie's people stamp sets.  They just exude fun and laughter!  


I die cut the image panel with one of the #5063 Rectangle A2 Double Stitch die and then placed onto a pattern paper panel from the #5892 Easter S2 PP.  I then matted it with orange cardstock.  I die cut each of the sentiments, that also came in this stamp set, with a tag die from the #5132 Tag Stitched die set.  I partial cut the tag and then used the same die to also cut off the flag portion and leave the stitch pattern.
I used a scallop edge die from my stash to cut the narrow strips on each side and placed a long narrow strip of orange cardstock over the seams of the pattern paper and the scallop border.  Placed some enamel dots on the card to finish it off. 

I hope you enjoy my card today.
Have a wonderful day and keep creating!
Copics used:  N1, N3, N4
E000, E01, E11, E21, E23
R20, R24, G43, G46
B000, BG32, BG34
Y21, Y23, Y25, YR12, YR14

Wednesday, March 19, 2025

Get Well Shaker Card - Doggy Kisses by Lynn Dionne

Happy Wednesday Ai Fans!!!


Watch video tutorial here!!!


Today we will be creating a cheerful get-well shaker card using the Ai Doggy Kisses Set (AiCS38) which includes several cute little dogs, paws, a bandage, tissues w/ mug and several coordinating sentiments!

This card was inspired by the current Ai "I like to move it, move it!" Blog Challenge! Just as the name implies, we are looking for cards that shake, rattle and roll! Whether it be a shaker card, as we will be creating today, or a slider card, a card that wobbles, or anything else you can think of that adds movement to your card or project!

Let's begin by stamping and coloring the dog and several bandages using the Zig Clean Color Real Brush Pens in the following colors: Blender, Tea Rose, Carmine Red, Scarlet Red, Yellow, May Green, Green, Aquamarine Blue, Cobalt Blue, Lt Gray, Beige, Mid Brown. We can now fussy cut the images with some detail scissors and leave a little white border all the way around.

Now let's create the front shaker panel for the card using the largest die from the Ai Nested Rectangle Dies (5724). We will also use the Ai Nested Heart Dies (5721) to create the window opening and to create a scalloped heart frame.

We will ink around the edges of the panel and the scallop frame using some "sand dune" ink and a small blending brush.

Using a piece of clear acetate cut down to fit behind this rectangular panel we will stamp our sentiment in some permanent "snowflake" ink. This sentiment will say "Hope it won't take too long to recover" which is from this same stamp set and is perfect for this card! Go ahead and attach the acetate to this panel using some double-sided tape.

Next, we will add some 3D Foam Tape to the back of this panel so that we can create the shaker element for this card (I will show you exactly how to do this in today's video). We will place some pretty and colorful sequins inside the shaker area and attach the front panel to our card base. The card base is a standard A2 size top folding card which will measure 4 1/4" x 5 1/2".

Now let's finish decorating the front of the card by adding the little puppy, a few bandages, and some pretty sequins! We will also add a few of the clay hearts from this sequin mix to the center of each of the bandages.

For the inside of the card, we will stamp "Thinking of you" onto the leftover heart that was created when we die cut the front panel. Don't forget to ink the edges of this heart as well and add a few more bandages!

For some added fun you can add a bandage or two to the flap on the envelope! I think that anyone feeling a bit under the weather would love to receive this sweet get-well card!

Thank you so much for joining me today!  Have a fun and crafty day!!!

Ai Doggy Kisses Set (AiCS38)

Ai Nested Heart Dies (5721)

Ai Little Things Sentiment Set (5797)

Tuesday, March 18, 2025

Bee Shakers by Reneé Matarese

 Hello Ai fans!

We're almost a week into our current I Like to Move It, Move It! challenge.

What ideas do YOU have for a card or project that has some sort of movement?

I chose to create two shaker cards.

I love bees and yellow and couldn't wait to make a shaker card duo using 5925 – Honey Bee Set.


For my first card, I turned my heart on its side to add a little interest.


Don't you just love the new 5972 – BJ Decorative Margin Dies? The 7" length makes them great for larger cards which I prefer to create. My cards today measure 6 1/4" x 5".


I've watched Karen Day from our Watercolor Design Team create wax seals over the last year and have finally gotten brave enough to begin trying them myself. I am in LOVE!


I have to cringe sometimes when I see enlarged versions of my coloring. My eyes aren't great and they look fine to me in person. Then I see them blown up and yikes! I maybe need to start thinking about one of those magnifiers that I've seen some crafters use.


This bee stamp seal was my first one and was gifted to me from Diane Mason.


I hope I've inspired you to try making a card with some movement on it. It can be a shaker, sliders, wobble, wiggle etc. There are so many possibilities. You might just win a free stamp set.